Embroidery is a timeless craft that seamlessly blends artistry and technology. To bring intricate designs to life on fabric, one must first understand the process of digitizing files for embroidery. In this guide, we’ll delve into the intricacies of digitizing files, offering insights and tips to help you achieve stunning embroidered creations.
Understanding Digitizing for Embroidery
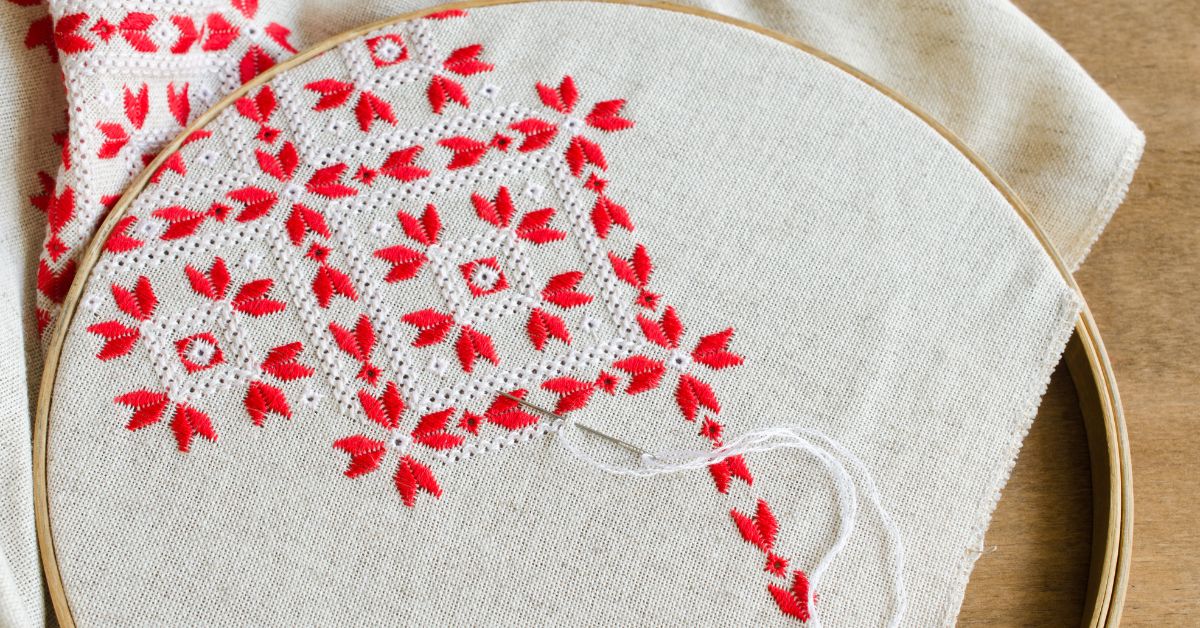
Digitizing for embroidery is the process of converting artwork, logos, or designs into digital embroidery files that can be interpreted by embroidery machines. This transformation involves translating the visual elements of the design into a series of stitches, threads, and colors that the machine can replicate on fabric.
Steps in Digitizing Files for Embroidery:
- Design Selection: Choose a design that is suitable for embroidery, considering factors such as size, complexity, and intended application.
- Software Selection: Invest in reputable embroidery digitizing software that offers robust features and customization options.
- Image Preparation: Prepare the image by cleaning up any unnecessary elements, adjusting colors, and enhancing details to ensure optimal results.
- Digitizing Process: Use the digitizing software to manually trace the design, assigning stitch types, densities, and directions to accurately replicate the original artwork.
- Testing and Refinement: Test the digitized design on scrap fabric or a sample piece to assess stitch quality, density, and overall appearance. Make necessary adjustments to refine the design for optimal results.
- File Formats: Save the digitized file in the appropriate embroidery machine format, such as .dst, .pes, or .exp, ensuring compatibility with your specific machine model.
Tips for Successful Digitizing:
- Start Simple: Begin with basic designs and gradually progress to more intricate patterns as you gain confidence and experience.
- Understand Stitch Types: Familiarize yourself with different stitch types, including satin stitches, fill stitches, and running stitches, and utilize them strategically to achieve desired effects.
- Maintain Consistency: Ensure consistent stitch lengths, densities, and directions throughout the design to avoid irregularities and inconsistencies.
- Consider Fabric and Thread: Take into account the type of fabric being embroidered and select thread colors and weights that complement the material and design.
- Practice Patience: Digitizing for embroidery requires patience and precision. Take your time to fine-tune the design and achieve professional results.
Benefits of Digitizing Files for Embroidery:
- Customization: Digitizing allows for customization of designs to suit specific project requirements and client preferences.
- Efficiency: Once digitized, designs can be easily replicated and scaled to accommodate various garment sizes and fabric types.
- Professionalism: Digitized embroidery offers a polished and professional finish, making it ideal for corporate logos, team uniforms, and branded merchandise.
Conclusion:
Digitizing files for embroidery is a skill that combines artistic flair with technical expertise. By mastering the fundamentals of digitizing, you can unlock endless creative possibilities and breathe life into your embroidered creations. Whether you’re embellishing apparel, accessories, or home decor items, the art of digitizing empowers you to transform visions into stunning stitched realities.
Embrace the artistry of digitizing and elevate your embroidery projects to new heights of excellence. With practice, patience, and a commitment to craftsmanship, you’ll embark on a journey of creativity and innovation in the world of embroidery.
For more information and a curated selection of sewing machines tailored to patchwork, visit https://embroiderymachines-forsale.net/. We’re here to help you find the perfect machine to make your patching projects a breeze.