Embroidery enthusiasts know the frustration of encountering holes or tears in their meticulously crafted designs. However, fear not! With the right techniques and a bit of patience, repairing embroidery holes is entirely possible. In this guide, we’ll explore effective methods for repairing embroidery holes, ensuring your embroidered creations remain pristine for years to come.
Understanding Embroidery Hole Repair
Embroidery hole repair involves mending tears, holes, or damaged areas in embroidered fabric while preserving the integrity of the design. Whether it’s a small puncture or a larger tear, knowing how to repair embroidery holes is an invaluable skill for any embroiderer.
Methods for Embroidery Hole Repair:
-
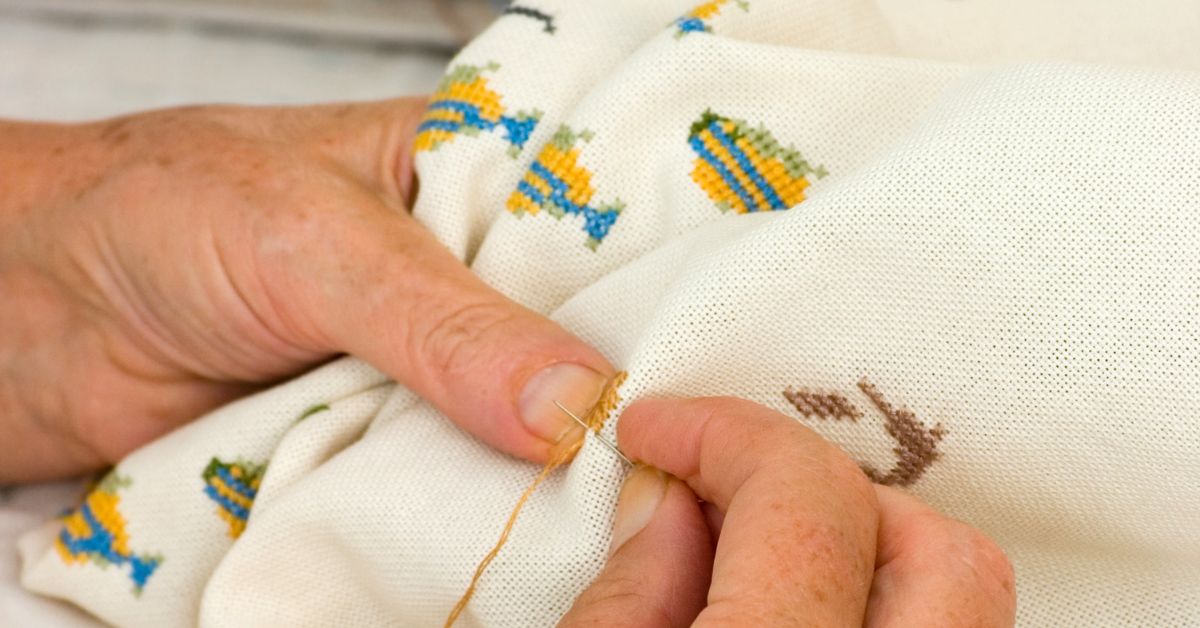
Hand Stitching Method:
- Gather matching thread and a thin needle suitable for delicate embroidery work.
- Carefully align the torn edges of the embroidery hole and secure them in place with small, discreet stitches.
- Use a running stitch or backstitch to reinforce the edges and prevent further unraveling.
- For larger holes, consider adding an additional layer of backing fabric behind the damaged area for added stability.
-
Patch Method:
- Cut a small piece of matching fabric or embroidery stabilizer slightly larger than the hole to be repaired.
- Place the patch behind the damaged area, ensuring it covers the entire hole.
- Secure the patch in place with small, even stitches around the perimeter of the hole.
- Trim any excess fabric or stabilizer to ensure a seamless repair.
-
Machine Embroidery Method:
- Utilize a machine embroidery hoop to secure the damaged area and prevent further stretching or distortion.
- Select a matching thread color and use a satin stitch or zigzag stitch to carefully bridge the gap and reinforce the damaged area.
- Adjust the tension and stitch length as needed to achieve uniform coverage and seamless blending with the surrounding embroidery.
Tips for Successful Embroidery Hole Repair:
- Choose thread colors and stitching techniques that closely match the original embroidery to ensure a seamless repair.
- Take your time and work methodically, paying close attention to detail and ensuring each stitch is secure and even.
- Test your repair techniques on a scrap piece of fabric before attempting to mend the actual embroidery to familiarize yourself with the process and gauge results.
- Consider reinforcing the repaired area with fusible interfacing or adhesive backing for added durability and stability.
Conclusion:
Embroidery hole repair is a valuable skill that allows you to salvage cherished embroidered pieces and maintain their beauty and integrity over time. By mastering the techniques outlined in this guide, you can confidently address any embroidery mishaps and ensure your creations remain pristine for years to come.
Whether you prefer hand stitching, patching, or machine embroidery methods, the key lies in patience, precision, and attention to detail. Embrace the art of embroidery hole repair and breathe new life into your cherished embroidered treasures.
For more information and a curated selection of sewing machines tailored to patchwork, visit https://embroiderymachines-forsale.net/. We’re here to help you find the perfect machine to make your patching projects a breeze.